
A label maker is a versatile tool designed to create customizable labels for organization, identification, and personalization․ Whether for home, office, or classroom use, label makers offer convenience and efficiency in managing belongings․ Modern devices often feature wireless connectivity, mobile app integration, and thermal printing technology, making them indispensable for streamlining spaces and enhancing productivity․ Brands like Brother and Dymo provide user-friendly options, catering to various needs, from basic labeling to advanced batch printing․ This guide explores how to maximize the potential of your label maker effectively․

Choosing the Right Label Maker
Selecting the ideal label maker involves considering factors like print technology, connectivity options, and label size․ Thermal printers offer durability, while wireless models enable mobile use․ Brands like Brother and Dymo provide versatile choices for home, office, or classroom needs, ensuring compatibility with apps and batch printing capabilities for efficiency․
2․1 Types of Label Makers
Label makers come in various types to suit different needs․ Wireless label makers offer Bluetooth or Wi-Fi connectivity for mobile use, while compact portable models are ideal for on-the-go labeling․ Advanced label makers feature color printing, touchscreens, and app integration, catering to professional and creative users; Basic manual label makers are simple, handheld devices for quick, no-frills labeling․ Thermal label makers are popular for their durability and efficiency, often used in offices and warehouses․ Desktop label makers provide high-volume printing capabilities, while specialty models focus on specific tasks like shipping labels or industrial labeling․ Brands like Brother and Dymo offer a range of options, ensuring there’s a label maker for every purpose, from home organization to commercial use․
2․2 Key Features to Consider
When selecting a label maker, key features to consider include wireless connectivity, thermal printing capability, and battery life for portability․ Look for models with adjustable font sizes, bold text options, and the ability to use various label sizes and colors․ Compatibility with software or mobile apps is essential for designing custom labels․ Consider the ease of loading label rolls and the availability of replacement cartridges․ Some label makers offer advanced features like batch printing, automation tags, and high-resolution output․ Durability and ease of use are also important, especially for frequent or industrial use․ Ensure the device supports your specific labeling needs, whether for home organization, office use, or professional applications․ These features will enhance your labeling experience and ensure you get the most out of your device․
Setting Up Your Label Maker
Unbox and connect your label maker, install the software, and load the label rolls as instructed․ Ensure proper installation of drivers and test print to confirm functionality․
3․1 Unboxing and Initial Setup
Begin by carefully unboxing your label maker and inspecting its components, including the device, power cord, USB cable, and label rolls․ Place the label maker on a flat, stable surface․ Connect the power cord to both the device and a power source․ If your label maker uses batteries, insert them according to the manufacturer’s instructions․ Remove any protective covering from the LCD screen and ensure all parts are securely attached․ Next, locate the label compartment and prepare to load the label rolls, following the provided instructions to avoid damaging the device․ Once powered on, perform a test print to ensure everything is functioning correctly․ Proper initial setup ensures smooth operation and prevents future issues․
3․2 Installing Software and Drivers
Install the necessary software and drivers to ensure your label maker functions properly․ Visit the manufacturer’s official website to download the latest version of the label creation software, such as Brother’s P-touch Design&Print or Dymo’s Label software․ Connect your label maker to your computer using a USB cable or via Bluetooth, depending on the model․ Follow the on-screen instructions to install the drivers and software․ Once installed, restart your device to complete the setup․ Ensure your label maker is recognized by the software by performing a test print․ Proper installation ensures compatibility and unlocks all features of your label maker, allowing you to design and print labels effortlessly․
3․3 Loading Label Rolls
Properly loading label rolls ensures smooth operation of your label maker․ Open the label compartment, usually located at the top or side, by releasing the latch or pressing a button․ Carefully remove the empty roll if present․ Take the new label roll, ensuring the labels face the correct direction as indicated in your device’s manual․ Gently insert the roll into the compartment, aligning it with the internal guides․ Secure the roll by closing the compartment until it clicks․ Avoid pulling or applying pressure on the tape, as this could damage the roll or printer․ Test the device by printing a sample label to ensure it feeds correctly․ Properly loaded rolls prevent jams and ensure high-quality prints, keeping your labeling process efficient and hassle-free․

Using Your Label Maker
Using a label maker involves designing and printing labels via software or mobile apps like Brother’s PT Design & Print․ Connect your device via Bluetooth, create labels, and print effortlessly․ This allows you to organize and personalize items efficiently, whether at home, in the office, or on the go․
4․1 Designing and Printing Labels
Designing and printing labels is a straightforward process that begins with software or mobile apps like Brother’s PT Design & Print․ Users can input text, add symbols, and choose fonts to create customized labels․ Once the design is complete, the label maker can be connected via Bluetooth or USB, and the print command is sent․ Many devices support thermal printing, eliminating the need for ink․ Batch printing options allow users to generate multiple labels quickly, ideal for organizing files, cables, or office supplies․ Ensure labels are loaded correctly and preview the design before printing to avoid errors․ This feature makes label makers versatile tools for efficient organization in both home and professional environments․
4․2 Basic Label Maker Functions
Basic label maker functions include inputting text, selecting font styles, and cutting labels to size; Many devices allow users to choose from various font sizes, bold text, and italic options for customization․ Some models include a QWERTY keyboard for easy typing, while others offer pre-designed templates for common labels․ Once the label is designed, the maker prints and cuts it automatically․ Portable label makers often run on batteries, enabling on-the-go use․ These functions are essential for efficiently creating labels for files, cables, and storage containers․ Advanced models may include features like label preview and memory storage for frequently used designs․ Understanding these basic functions helps users maximize the versatility of their label maker for both personal and professional organizing needs․
4․3 Advanced Printing Options
Advanced printing options on label makers enhance efficiency and customization․ Features like batch printing allow users to create multiple labels at once, saving time for large projects․ Some models offer high-resolution printing for crisp, professional-looking labels․ Custom templates and variable data printing enable personalized labels using imported data, such as names or dates․ Wireless connectivity via Bluetooth or Wi-Fi allows seamless printing from mobile devices using dedicated apps․ Additionally, advanced label makers may include features like automatic label cutting, adjustable print speeds, and customizable margins․ These options cater to both personal and professional needs, making label creation faster and more tailored to specific requirements․ By leveraging these features, users can achieve precise and efficient label printing for various applications․

Organizing Your Space with Labels
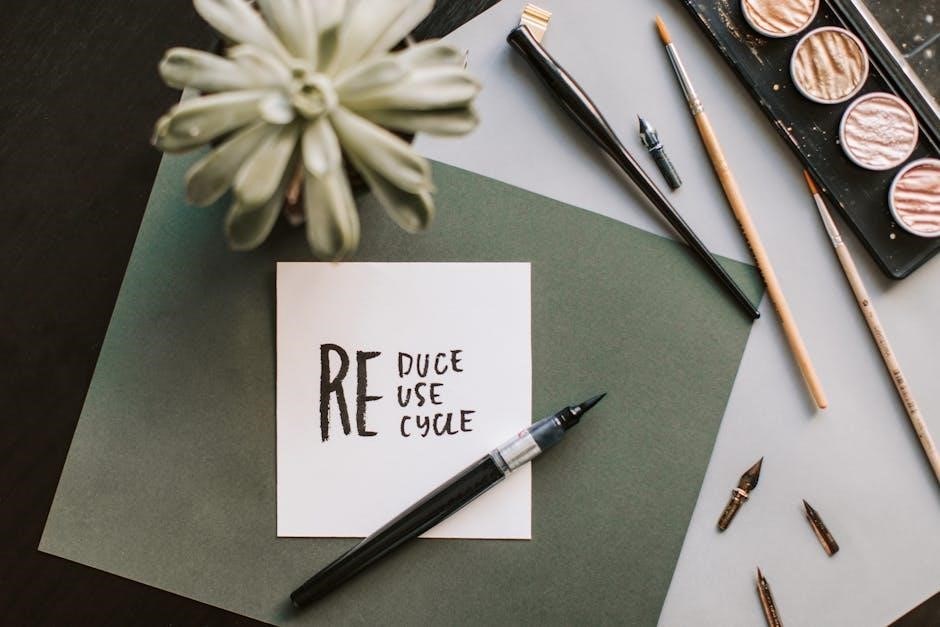
Labels are essential for organizing homes, offices, and classrooms․ They help categorize items, reduce clutter, and improve accessibility․ Use labels on files, cords, bins, and supplies to create a structured environment, enhancing productivity and efficiency while saving time searching for misplaced items․
5․1 Home and Office Organization
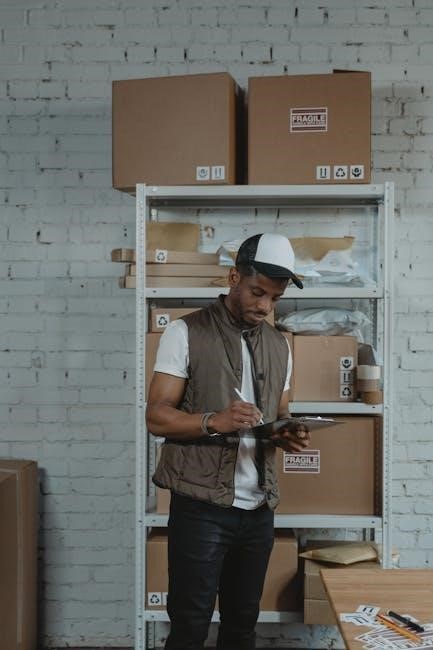
Label makers are invaluable for organizing both home and office spaces․ In the office, labels can be used to categorize files, mark folders, and identify cords, ensuring everything is easily accessible and reducing clutter․ At home, labeling storage bins, shelves, and kitchen containers helps maintain a tidy environment․ This simplifies daily tasks and saves time searching for items․ Additionally, labels can be used to organize receipts, documents, and office supplies, promoting a more structured and efficient workspace․ By implementing a labeling system, you can enhance productivity and create a visually organized space that is both functional and aesthetically pleasing․
5․2 Classroom and Workspace Labels
Label makers are essential tools for creating organized and efficient learning or working environments․ In classrooms, labels can be used to organize supplies, mark storage areas, and identify materials, helping students and teachers quickly locate what they need․ For workspaces, labels are ideal for identifying cables, folders, and equipment, ensuring a clutter-free and productive environment․ Additionally, labels can be used to designate areas for specific tasks or projects, promoting a sense of structure and accountability․ Whether it’s a classroom or a professional setting, labels enhance organization, reduce chaos, and foster a more focused and efficient workspace․

Maintenance and Troubleshooting
Regularly clean the label maker to prevent dust buildup and ensure smooth operation․ Check alignment and replace cartridges as needed․ Troubleshoot connectivity issues by restarting devices or reinstalling drivers․ Avoid pulling tape forcefully to prevent damage․ Refer to the user manual for specific troubleshooting guides tailored to your model․ Proper maintenance extends the lifespan and performance of your label maker, ensuring consistent and high-quality label production over time․ Always follow manufacturer instructions for repairs or updates to maintain warranty validity and optimal functionality․ Keep your label maker in a dry, cool place to prevent mechanical issues․ Address any errors promptly to avoid further complications․
6․1 Cleaning and Maintaining
Regular cleaning and maintenance are essential to ensure your label maker functions optimally․ Use a soft cloth or compressed air to gently remove dust and debris from the print head and internal components․ Avoid applying pressure or using harsh chemicals, as this may damage the device․ Check the cartridges and labels for proper alignment and replace them as needed․ Wipe the exterior with a damp cloth to keep it clean and free from smudges․ For thermal label makers, ensure the print head is free from residue to maintain print quality․ Refer to your user manual for specific cleaning instructions tailored to your model․ Regular maintenance prevents jams, ensures consistent printing, and extends the lifespan of your label maker․ Always follow manufacturer guidelines to avoid voiding the warranty․ By keeping your device well-maintained, you can enjoy reliable performance and clear labels every time․
6․2 Common Issues and Solutions
Common issues with label makers include labels not feeding properly, poor print quality, or connectivity problems․ If labels aren’t feeding, ensure they are loaded correctly and aligned․ For blurry or faint prints, check the print head for dust or residue and clean it gently․ Connectivity issues can often be resolved by restarting the device or re-pairing it via Bluetooth or USB․ Jammed labels should be carefully removed to avoid damaging the printer․ If problems persist, consult the user manual or contact customer support for troubleshooting specific to your model․ Regular maintenance, such as cleaning the print head and updating software, can help prevent these issues․ Always refer to the manufacturer’s guidelines for solutions tailored to your device․
Label makers are indispensable tools for organizing and personalizing spaces, offering ease of use and versatility․ Whether for home, office, or classroom, they streamline labeling processes, enhance productivity, and promote efficiency․ Modern devices feature advanced options like wireless connectivity, app integration, and thermal printing, catering to diverse needs․ Regular maintenance, such as cleaning and updating software, ensures optimal performance․ Troubleshooting common issues like misfeeds or connectivity problems can be addressed through simple steps․ By following the guidelines and tips outlined, users can maximize their label maker’s potential, achieving professional-level organization and personalization effortlessly․ With the right model and proper care, a label maker becomes a long-lasting, reliable companion for all labeling needs․