
Sock Loom Instructions: A Comprehensive Guide
Embark on a journey into the world of loom knitting socks! This guide details techniques, from basic casting on to advanced patterning,
leveraging resources like Isela Phelps’ book and the r/LoomKnitting community. Discover how to create comfortable, durable socks with step-by-step tutorials.
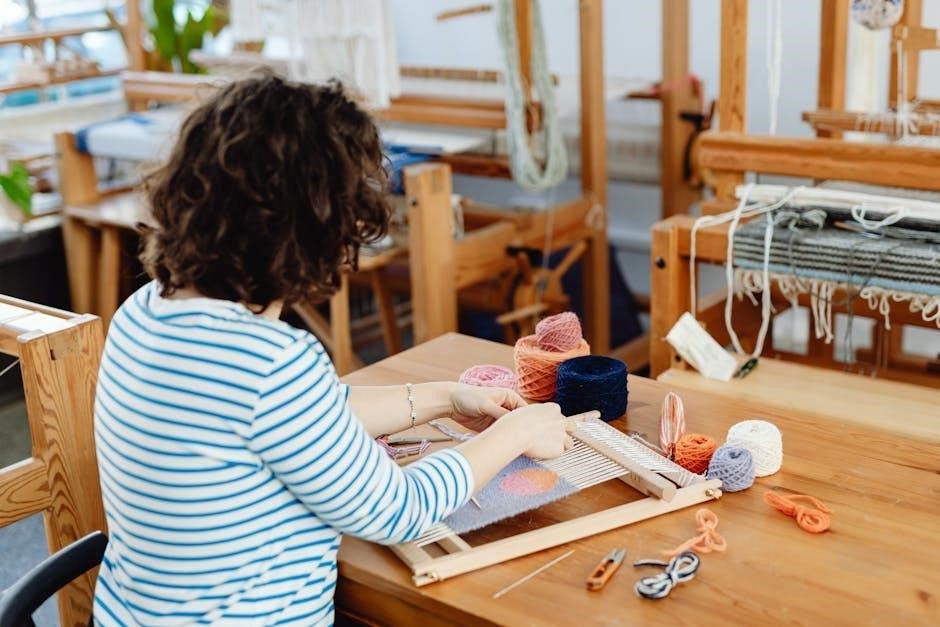
Loom knitting offers a unique path to sock creation, bypassing traditional needles for a faster, accessible method. Perfect for beginners, it utilizes a loom with pegs to interlock yarn. Explore patterns from resources like the Mary Maxin sock club, or Isela Phelps’ comprehensive guide.
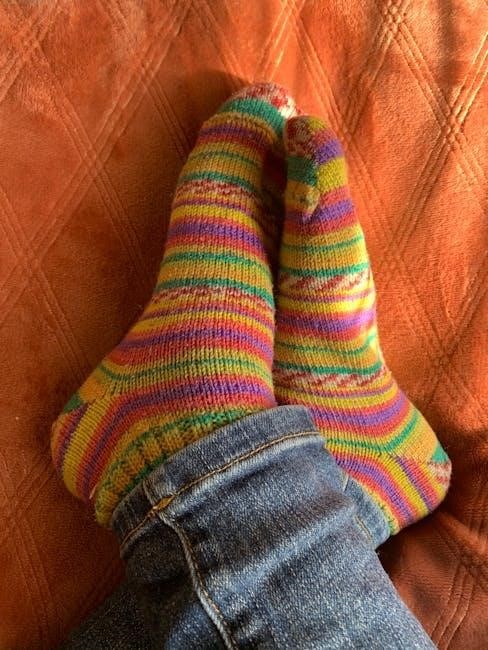
Discover the joy of crafting cozy, custom-fit socks!
Understanding Sock Anatomy
Successful loom knitting requires knowledge of sock structure. Key sections include the toe, foot, heel, and cuff, each demanding specific techniques. Consider whether to knit “toe-up” or “toe-down,” influencing the construction order. Phelps’ book details these areas, offering invaluable insight into shaping and fit for optimal comfort.
Toe-Up vs. Toe-Down Knitting
Choosing between toe-up and toe-down impacts the sock’s construction. Toe-up begins with the toe, increasing stitches to form the foot, while toe-down starts at the cuff, decreasing towards the toe. Phelps’ guide explains these methods, allowing loomers to select the technique best suited to their preferences and patterns.
Key Sock Sections: Heel, Foot, Cuff
Understanding sock anatomy is crucial for successful loom knitting. The foot provides the sock’s base, the heel offers durability and shape, and the cuff ensures a secure fit. Phelps’ book details each section’s construction, emphasizing techniques for a comfortable and well-fitting finished product.
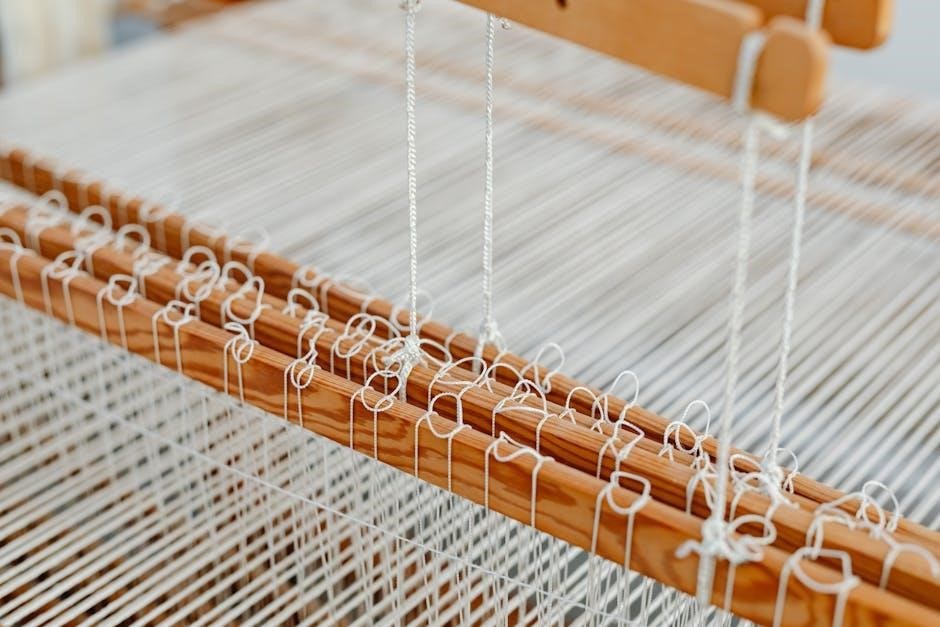
Choosing the Right Loom
Selecting the appropriate loom is fundamental to loom knitting success. Consider round looms with 56 or 64 pegs, depending on desired sock size, as suggested by Mary Maxin’s sock club. Evaluate fine versus regular gauge looms, noting CindDwood’s potential for peg breakage in fine gauge options.
Round Looms: Peg Count Considerations (56 & 64 Pegs)
Peg count directly impacts sock size and gauge. Mary Maxin patterns utilize 56 pegs for smaller socks and 64 for larger sizes. A higher peg count yields a denser fabric, while fewer pegs create a looser knit. Carefully consider your foot size and yarn weight when choosing.
Fine Gauge vs. Regular Gauge Looms
Gauge determines the fabric’s density and yarn compatibility. CindDwood looms offer both fine (1/4″) and regular gauge options. Fine gauge creates a tighter, more detailed knit, ideal for finer yarns, but pegs are more prone to breakage. Regular gauge is durable and versatile.
CindDwood Looms: Pros and Cons
CindDwood looms are popular, offering both fine and regular gauge options. Pros include affordability and availability. However, the fine gauge looms are known for peg fragility, a common issue reported by users. Regular gauge CindDwood looms demonstrate greater durability over extended use.
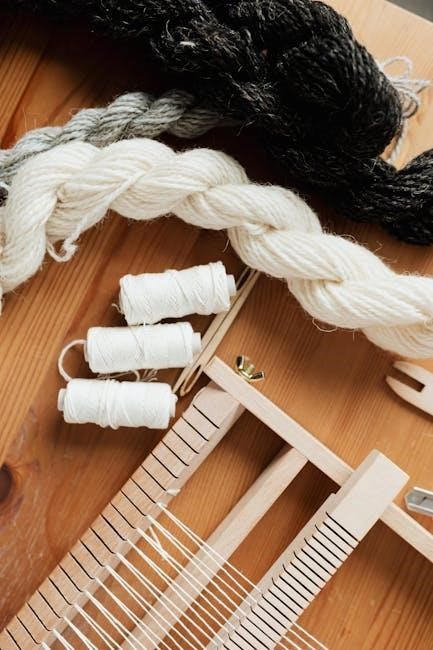
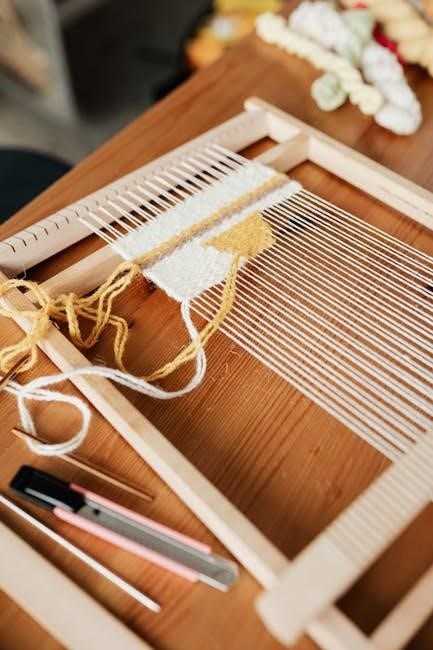
Materials Needed for Loom Knitting Socks
Successful loom knitting requires specific tools. You’ll need a loom (round looms with 56 or 64 pegs are common), appropriate yarn – consider recommended types and weights – a loom hook, stitch markers to track progress, and sharp scissors for clean yarn cuts.
Yarn Selection: Recommended Types & Weights
Choosing the right yarn is crucial for comfortable socks. Isela Phelps’ guide offers valuable advice on yarn selection. Sock yarn, or fingering weight, is popular, but DK weight also works. Consider wool blends for durability and warmth, ensuring a pleasant feel against your skin.
Loom Tools: Hooks, Stitch Markers, and Scissors
Essential tools enhance your loom knitting experience. A loom hook assists in lifting stitches, while stitch markers define sections like the heel. Sharp scissors neatly trim yarn ends. CindDwood looms, though prone to peg breakage, highlight the need for durable tools and potential replacements.
Casting On: The First Steps
Begin your sock journey with a secure cast-on. Mastering basic techniques for sock looms is crucial for a comfortable fit. Adjusting tension is key; too tight restricts movement, while too loose creates a floppy sock. Patterns often specify 56 or 64 stitches, influencing size.
Basic Casting On Techniques for Sock Looms
Several methods initiate your loom-knit sock. The standard approach involves wrapping yarn around each peg, creating a foundational row. Maintaining even tension during this process is paramount for a consistent fabric. Experiment with different techniques to find what feels most comfortable and secure for your loom.
Adjusting Tension for a Comfortable Fit
Consistent tension is crucial for sock comfort. Too tight, and the sock will constrict; too loose, and it will be baggy. Practice maintaining even yarn pull throughout knitting. Adjusting tension impacts stitch size and overall sock dimensions, ensuring a personalized and cozy fit for various foot sizes.
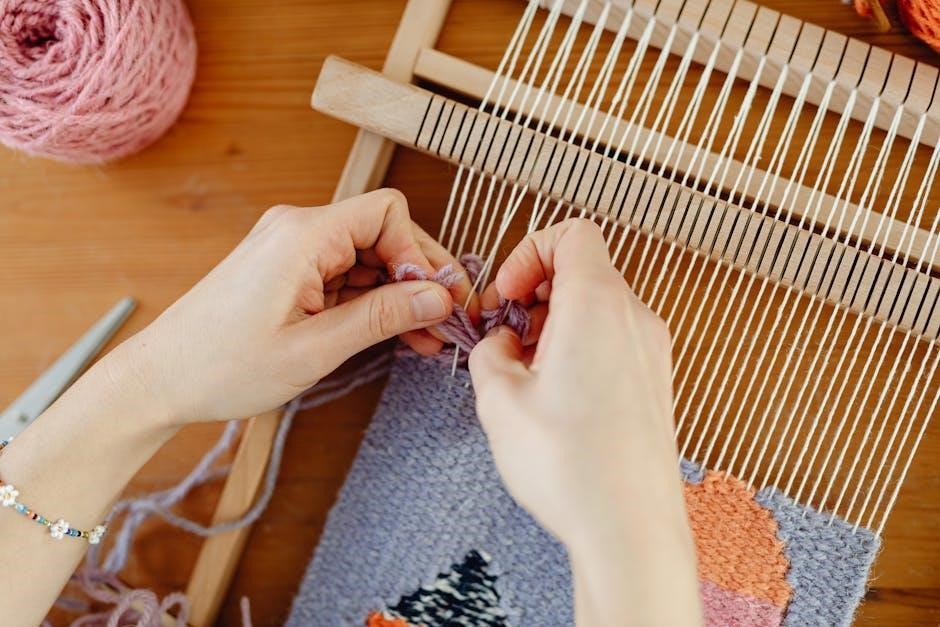
Knitting the Sock Foot
Begin the sock foot by mastering the knit stitch on your loom. Maintaining consistent stitch tension is paramount for a smooth fabric. Work in rounds, carefully transferring each loop to the next peg. This foundational section establishes the sock’s shape and size, requiring patience and precision.
The Knit Stitch on a Sock Loom
The core of loom knitting socks lies in the knit stitch. Using a loom hook, lift the bottom loop over the peg, creating a new loop. Repeat this process around the loom, ensuring each stitch is consistently formed. Practice makes perfect; a uniform knit stitch yields a comfortable sock!
Maintaining Consistent Stitch Tension
Consistent tension is crucial for well-fitting socks. Avoid pulling the yarn too tightly or leaving it too loose while knitting. This ensures even fabric density, preventing holes or overly stretched areas. Practice will help you develop a feel for the ideal tension on your loom.
Creating the Heel Flap
The heel flap provides durability and shape to the sock’s back. Utilize specific heel flap techniques to reinforce this high-wear area. This section is knitted back and forth, creating a sturdy foundation before turning the heel and shaping for a comfortable, secure fit.
Heel Flap Techniques for Durability
Reinforce the heel with robust techniques for long-lasting socks. Consistent stitch tension is crucial during heel flap creation. Employ a tighter knit to enhance durability in this high-stress area. Consider alternating knit rows for added strength, ensuring a resilient and comfortable heel structure.
Turning the Heel: Shaping the Back of the Sock
Skillfully shape the sock’s heel by strategically decreasing stitches. This process creates the curved back portion, providing a comfortable fit. Consistent tension is vital during turning to avoid gaps or distortions. Carefully follow patterns, ensuring symmetrical decreases for a well-defined heel shape.
Knitting the Gusset
The gusset forms the connection between the heel and the foot, enhancing fit and comfort. Increase stitches systematically on each side to gradually widen this section. Proper shaping ensures a snug, yet non-constricting, feel. Maintaining even tension is crucial for a smooth, well-defined gusset.
Increasing Stitches for a Proper Fit
Strategic stitch increases are vital during gusset formation. Add stitches incrementally on alternating rows, typically one stitch per side, to broaden the area. This gradual expansion accommodates the foot’s shape, preventing tightness. Consistent increases ensure a comfortable, well-fitting sock, avoiding constriction.
Shaping the Gusset for Comfort
Gusset shaping is crucial for sock comfort and fit. After initial increases, continue shaping by knitting fewer stitches at the beginning and end of rows. This creates a curved gusset, mirroring the foot’s natural arch. Proper shaping prevents bunching and ensures a snug, yet comfortable, heel and instep.
Knitting the Leg/Cuff
Transitioning from the gusset, begin knitting the leg or cuff section. Employ ribbing techniques – knit one, purl one – for elasticity and a snug fit. Adjust cuff length to preference, considering desired sock height. Consistent tension is key for a uniform, comfortable leg section.
Ribbing Techniques for the Cuff
Achieve a snug, elastic cuff using classic ribbing. The knit one, purl one pattern is foundational, creating vertical ridges. Experiment with wider ribs (2 knit, 2 purl) for varied texture. Maintain consistent tension throughout to prevent looseness or excessive tightness, ensuring a comfortable fit around the leg.
Adjusting Cuff Length and Elasticity
Customize your sock’s cuff for a perfect fit! Increase rows for a longer cuff, providing extra warmth. Alter ribbing patterns – tighter ribs (1×1) yield more elasticity, while looser ribs (2×2) offer comfort. Consistent tension is key; a relaxed tension creates a softer, less constricting cuff.
Finishing Techniques
Refine your loom-knit socks with essential finishing touches! Securely weave in all yarn ends to prevent unraveling, using a yarn needle. Blocking, achieved through gentle washing and shaping, enhances the sock’s form and size. Proper care extends the life of your handmade creations.
Weaving in Ends Securely
Prevent unraveling by meticulously weaving in yarn ends! Thread the yarn tail onto a yarn needle. Weave it back and forth through several stitches on the wrong side of the sock. Gently tug to secure, avoiding distortion. Trim excess yarn closely for a clean, durable finish.
Blocking for Shape and Size
Achieve a professional finish with blocking! Gently wet your finished sock, then shape it to the desired size and form. Pin it to a blocking board or towel, allowing it to dry completely. Blocking evens stitches and refines the sock’s overall shape, ensuring a perfect fit.
Troubleshooting Common Issues
Encountering problems? Don’t worry! Broken loom pegs, particularly with fine gauge looms like CindDwood, can occur – repair or replace them. Dropped stitches are fixable with a loom hook; Patience and careful attention to detail will resolve most issues, ensuring a successful project.
Broken Loom Pegs: Repair or Replacement
Unfortunately, peg breakage happens, especially with fine gauge looms like those from CindDwood. Repairing a broken peg can be tricky; replacement is often easier. Consider purchasing extra pegs or a new loom head. Regular gauge looms generally prove more durable over extended use.
Dropped Stitches: How to Fix Them
Dropped stitches are common, but fixable! Carefully loop the yarn back onto the peg, recreating the stitch. Maintaining consistent tension is key to preventing drops. Utilize a crochet hook to assist in retrieving the yarn and securing the stitch. Don’t panic; practice makes perfect!
Sock Sizes and Measurements
Accurate sizing is crucial for comfortable socks. Patterns often specify stitch counts for different sizes, typically 56 or 64 stitches cast on. Measure foot circumference and length to determine the correct size; Adjust patterns accordingly for a custom fit, ensuring a snug but not constricting feel.
Determining the Correct Size for Different Feet
Precise measurements are key to a perfect fit. Measure foot length and circumference, noting width variations. Consult size charts correlating measurements to stitch counts – 56 stitches suit smaller feet, while 64 accommodate larger sizes. Account for desired sock looseness or compression when selecting a pattern.
Adjusting Patterns for Custom Fits
Tailor patterns to your unique feet! Modify stitch counts to alter width; add or subtract rows for length adjustments. Consider heel placement for comfort, and adjust cuff elasticity based on preference. Experiment with gauge to fine-tune the fit, ensuring a cozy and personalized loom-knit sock.
Advanced Loom Knitting Techniques
Elevate your sock game with intricate designs! Explore colorwork possibilities, incorporating stripes or complex patterns. Experiment with texture by adding cables or unique stitch combinations. These techniques transform simple socks into personalized masterpieces, showcasing creativity and loom knitting skill.
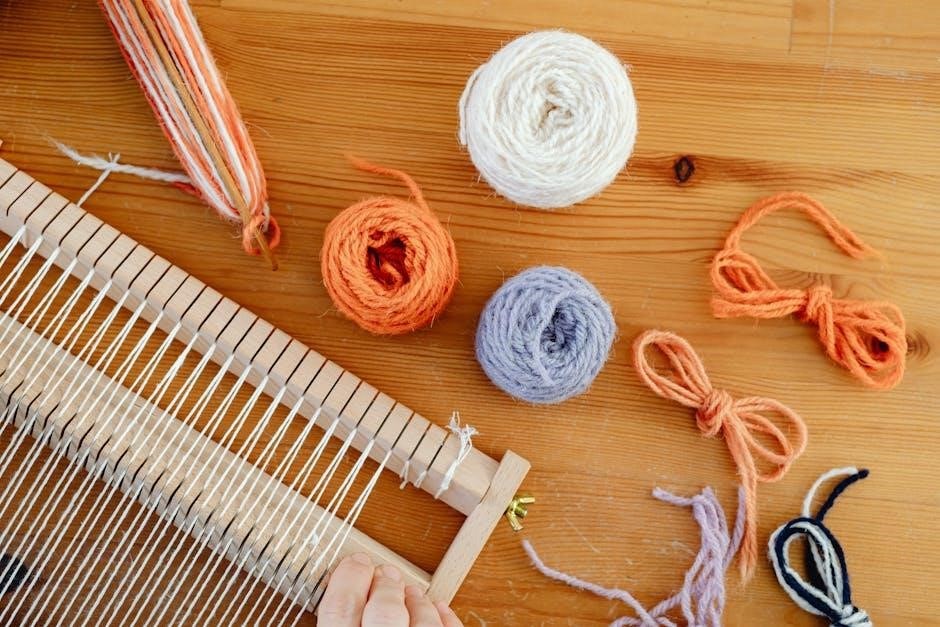
Colorwork and Patterning on a Loom
Introduce vibrant designs to your loom knit socks! Utilize multiple yarn colors to create stripes, Fair Isle patterns, or intricate motifs. Careful planning and consistent tension are key for clean color changes. Explore online resources and patterns for inspiration, adding a unique flair to each pair;
Adding Cables and Textures
Elevate your sock designs with dimensional textures! While challenging on a loom, techniques like slipped stitches and strategic yarn overs can mimic cable patterns. Experiment with different stitch combinations to create ribbing, seed stitch, or other textured effects, adding visual interest and warmth.
Resources for Loom Knitting Socks
Expand your skills with helpful communities and guides! Explore the vibrant discussions on r/LoomKnitting on Reddit for tips and support. Isela Phelps’ “Loom Knitting Socks” offers comprehensive patterns and troubleshooting advice. Numerous online tutorials and patterns are available for beginner-friendly projects.
Online Communities (e.g., r/LoomKnitting on Reddit)
Connect with fellow loom knitters for inspiration and assistance! The r/LoomKnitting subreddit provides a platform to share projects, ask questions, and learn new techniques. Engage with experienced loomers, discover pattern recommendations, and troubleshoot challenges collaboratively. It’s a fantastic resource for all skill levels!
Books and Patterns (e.g., Isela Phelps’ “Loom Knitting Socks”)
Expand your skills with dedicated loom knitting resources! Isela Phelps’ “Loom Knitting Socks” offers a comprehensive guide, covering sock anatomy, yarn selection, and troubleshooting. Discover over 50 projects, from beginner-friendly to advanced, and unlock invaluable advice for creating perfectly fitted, beautiful socks.
Beginner-Friendly Slipper Sock Tutorial
Start your loom knitting adventure with easy slipper socks! Marching North provides a step-by-step video tutorial and free pattern, perfect for beginners. These cozy socks are a fantastic first project, introducing fundamental techniques and building confidence for more complex sock designs.
Step-by-Step Video Tutorials
Visual learners rejoice! Marching North offers comprehensive video tutorials guiding you through each stage of creating loom knit slipper socks. These tutorials break down the process into manageable steps, ensuring even complete beginners can successfully craft their first pair of cozy, handmade socks.
Free Patterns for Easy Sock Projects
Begin your loom knitting adventure with accessible patterns! Marching North provides free patterns specifically designed for easy loom knit socks, perfect for newcomers. These projects offer a gentle introduction to the craft, building confidence and skill with each completed, comfortable pair of socks;
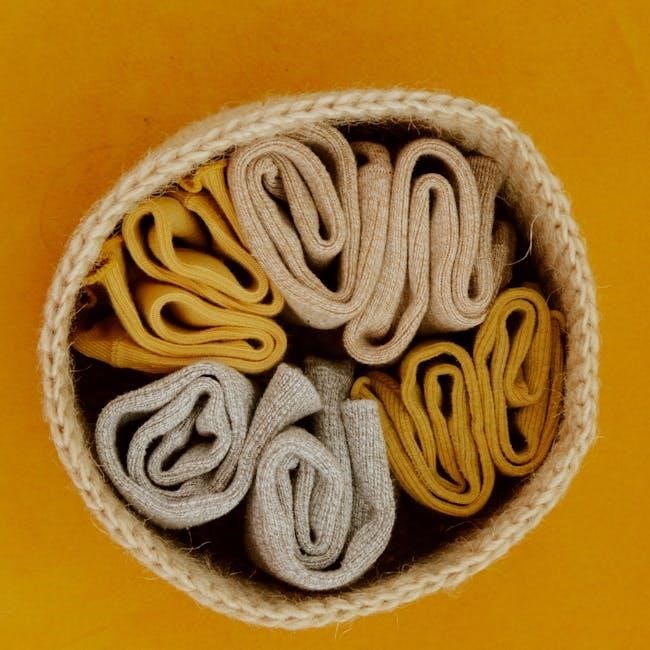
Caring for Your Loom Knit Socks
Preserve the quality and longevity of your handmade socks! Proper washing and drying are crucial; gentle cycles and avoiding high heat are recommended. Consistent care extends the life of your loom knit creations, ensuring lasting comfort and enjoyment from each carefully crafted pair.
Washing and Drying Instructions
Maintain sock integrity with careful laundering! Hand washing or a gentle machine cycle in cool water is best. Avoid harsh detergents and bleach. Tumble dry on low heat or, ideally, lay flat to dry. This prevents shrinking and preserves the shape of your lovingly loom-knitted socks.
Extending the Life of Your Socks
Prolong sock wear with proactive care! Rotate socks regularly to distribute wear. Repair small holes promptly to prevent unraveling. Store socks neatly, avoiding stretching or compression. Consider using a laundry bag for machine washing to minimize friction and maintain their beautiful form.